Recipe: Dairy-Free Coconut Yogurt

I’ve always loved yogurt so when I had to go dairy free a few years ago I really missed it (and ice-cream!). So when I discovered dairy free (and vegan) coconut yogurt I fell in love hard and fast. I love it with fresh berries or adding it as a topping to green smoothie bowls or even as a layer for fruit smoothie parfaits. Great for breakfast, snacks or dessert.
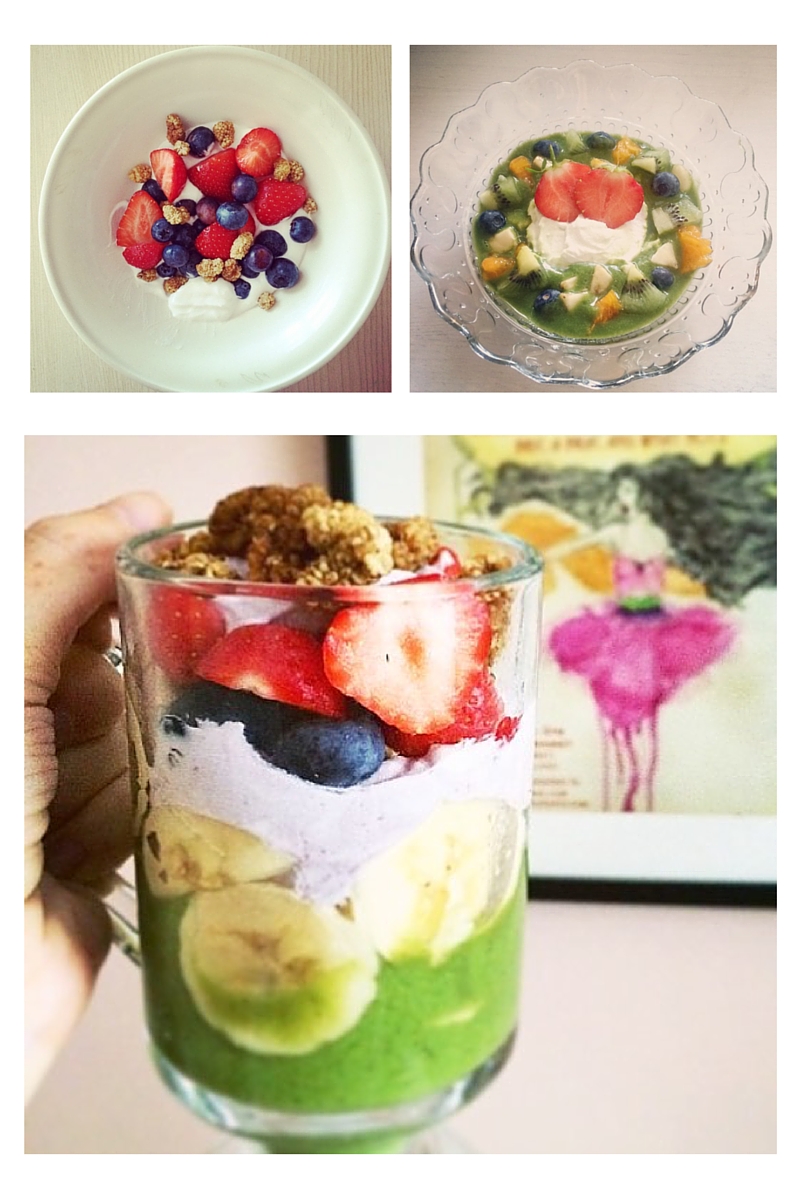 Photos from Instagram @ahealthyhappyglow
As I got a yogurt maker for Christmas I decided that it was about time that I tried making it for myself and to my surprise it was much easier than expected. I’ve now got it down to a fine art and it doesn’t take much prep work at all. I have the Severin yogurt maker which has seven jars so the recipe below will make seven jars worth of yogurt.
How To Make Dairy-Free Coconut Yogurt
Ingredients
- 1 litre of coconut milk (I like Aroy-D as it has two ingredients – coconut and water – no emulsifiers)
- 2-4 probiotic capsules
- 4 – 7 sheets of gelatin (4 will make thick and 7 will make really thick – nearly jelly like)
Equipment
- Yogurt maker and glass jars with lids
- Bowl with water to put the gelatin sheets in
- Medium saucepan
- Whisk
Instructions
- Sterilize the jars by filling them with boiling water.
- Pour the coconut milk into a saucepan: Whisk until the milk is smooth and uniform.
- Place the gelatin sheets in the bowl and cover with water. Leave for 5 – 10 minutes (or whatever is recommended on the packet).
- Heat the coconut milk over a medium heat until the coconut milk starts to simmer.
- When the gelatin is ready, add it to the hot coconut milk and continue cooking the milk on low, whisking occasionally, for 5 to 10 minutes, until the gelatin is fully dissolved.
- Take the saucepan off the heat and cool the milk until it’s just warm to the touch (a little warmer than room temperature).
- Add the probiotics: Twist open the probiotic capsule and pour the powdery contents over the milk (discard the capsule’s casing). Whisk to combine. Alternatively, whisk in 4 tablespoons of the coconut yogurt.
- Empty the jars (the water will have cooled down by now).
- Pour the coconut milk into the jars and screw on the lids.
- Place into the yogurt maker and turn on.
- I usually leave it for 24 hours without disturbing.
- After 24 hours place the jars in the fridge and chill for a few hours.
- The yogurt will become thicker as it chills. After this stage, you might find that the mixture has separated with a translucent layer at the bottom. Stir to recombine.
- Keep the coconut yogurt in the fridge and use within 2 weeks.
Notes:
- 4 tablespoons of store-bought coconut yogurt (like CoYo) can be used instead of the probiotic tablets as a starter. CoYo is AIP compliant but it is not SCD compliant (due to the tapioca starch).
- Agar agar flakes or tapioca starch can be used instead of gelatin but neither are SCD compliant and agar agar isn’t AIP compliant.
- I like to leave a few tablespoons of my first batch of yogurt and add it when making the second batch along with the probiotic tablets / store bought yogurt. I find my yogurt gets better and better the more batches I do when I do this.

Wow thanks so much for sharing! I really miss yoghurt sometimes and I bet it’s much cheaper to make than to buy 🙂
https://plantymcplantface.wordpress.com